
If you’ve ever transferred photos from your iPhone to a computer or tried to upload them to a website, you might have noticed they are saved as .HEIC files instead of the standard .JPG or .JPEG format.
Apple uses the HEIC (High Efficiency Image Container) format by default to save storage space while maintaining high image quality. However, because many websites, apps, and older devices don’t support HEIC, converting these files to JPG is incredibly common.
Here is the complete step-by-step guide on how to convert your iPhone photos to JPG instantly.
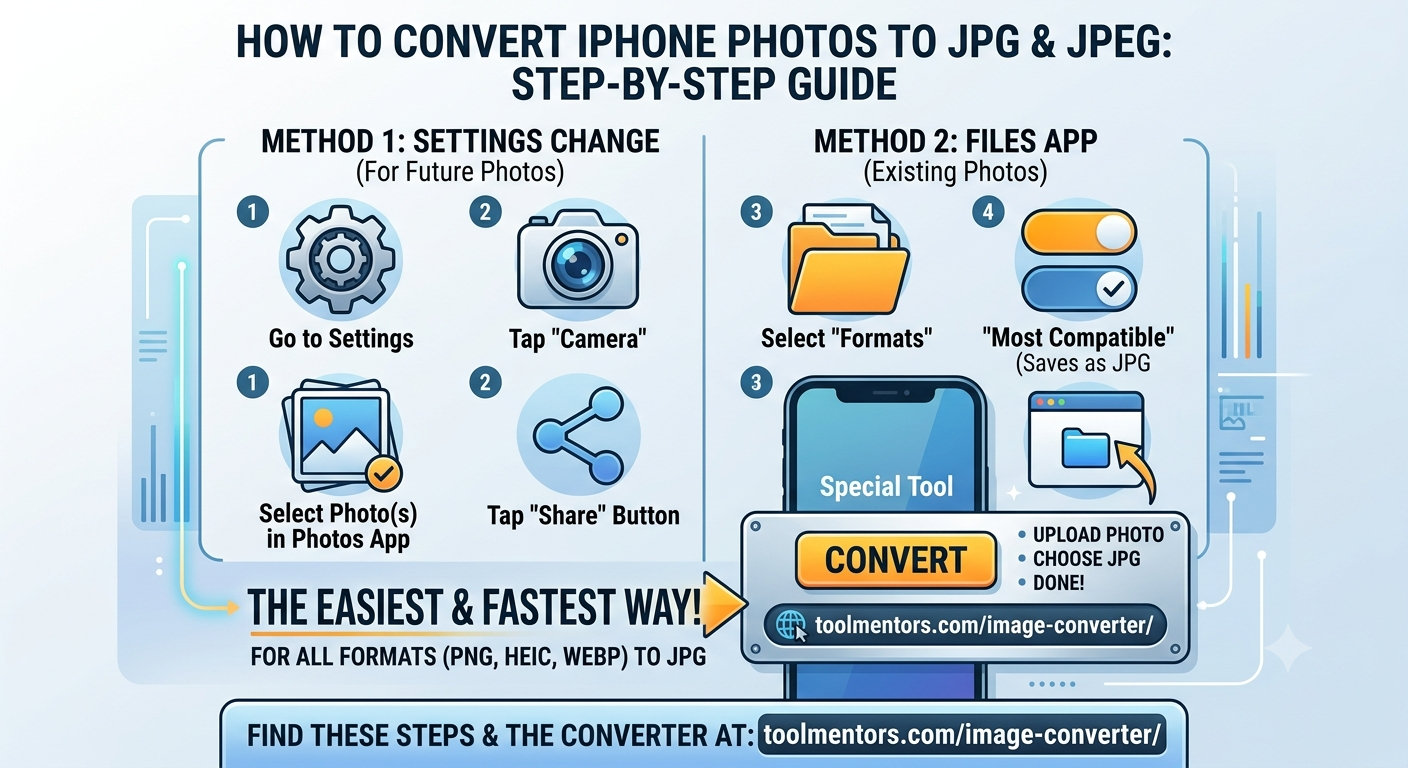
Method 1: Change iPhone Settings to Shoot in JPG (For All Future Photos)
If you want to prevent your iPhone from taking HEIC photos entirely and want all your future pictures saved in JPG format automatically, follow these steps:
-
Open the Settings app on your iPhone.
-
Scroll down and tap on Camera.
-
Tap on Formats at the very top.
-
Select Most Compatible (instead of High Efficiency).
Note: “High Efficiency” saves photos as HEIC. Selecting “Most Compatible” forces your iPhone to shoot and save every photo in standard JPEG/JPG format.
Method 2: Convert Existing Photos Using the iPhone “Files” App
If you already have HEIC photos in your camera roll and want to convert them to JPG directly on your phone without installing any third-party apps, you can use the built-in Files app.
-
Open the Photos app and select the photo(s) you want to convert.
-
Tap the Share button (the square icon with an upward arrow) in the bottom-left corner.
-
Tap Copy Photo from the menu.
-
Go to your home screen and open the Files app (the blue folder icon).
-
Tap the Browse tab and select a location, such as On My iPhone.
-
Long-press (press and hold) on any empty space in the folder and select Paste.
-
Done! The Files app automatically converts HEIC images into JPEG format upon pasting. You can now tap the share button on the pasted file to save it back to your Photos app as a JPG.
Method 3: Automatically Convert JPGs When Transferring to Mac or PC
If your main issue is transferring photos to a computer and finding them in HEIC format, you can tell your iPhone to automatically convert them to JPG during the transfer process.
-
Open your iPhone’s Settings.
-
Scroll down and tap on Photos.
-
Scroll to the very bottom to the Transfer to Mac or PC section.
-
Select Automatic (instead of Keep Originals).
With this enabled, your iPhone will automatically detect if the computer you are plugging into supports HEIC. If it doesn’t, it will convert the files to JPG during the transfer.
Method 4: The Easiest & Fastest Way to Convert Any Photo (No Settings Changed)
If you have a batch of photos, PNGs, WEBP, or HEIC images and want to convert them in seconds without digging into your phone’s settings or copying and pasting files, the absolute best method is using an online mobile-friendly converter.
You can use the free tool we built over at Tool Mentors to get this done instantly in your mobile browser:
👉 Tool Mentors – Free Image Converter
How to use it:
-
Open Tool Mentors Image Converter on your iPhone, Android, or PC.
-
Tap Upload Image and select your photo(s) directly from your Photo Library.
-
Select JPG as your target output format.
-
Click Convert and download your perfectly formatted JPG file instantly!
This tool is 100% free, requires no sign-ups or installation, and converts your files in high-resolution in just a few clicks.