
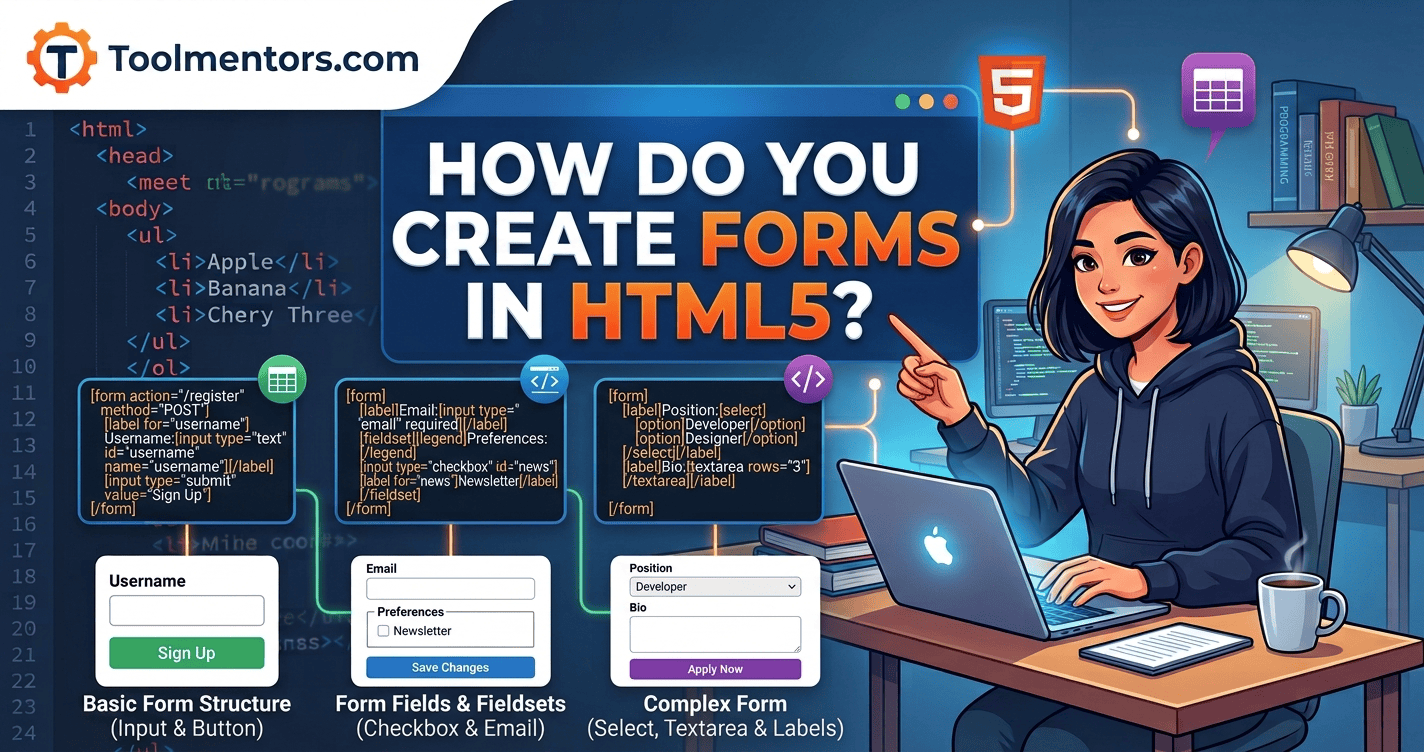
HTML5 forms are created using the <form> element, along with input fields, labels, buttons, and other form controls to collect user information. You can use input types such as text, email, password, and date, along with built-in validation attributes, to create interactive and user-friendly forms.
What Are Forms in HTML5?
HTML5 forms are essential elements of modern websites because they allow users to enter and submit information. Whether someone is registering for an account, contacting a business, subscribing to a newsletter, or placing an order, forms provide a simple way to collect user data.
The <form> element acts as a container for form controls, including text fields, checkboxes, radio buttons, dropdown menus, and submit buttons.
Common examples of HTML5 forms include:
- Contact forms for business websites.
- Registration and login forms.
- Newsletter subscription forms.
- Online order and checkout forms.
- Surveys and feedback forms.
- Appointment booking forms.
HTML5 also introduced useful input types and validation features that help developers create forms with fewer additional scripts.
1. How to Create a Basic Form in HTML5
To create a basic HTML5 form, use the <form> element and add input fields for the information you want to collect. Each input should have an appropriate label so users understand what information they need to provide.
Example of a Basic HTML5 Form
<!DOCTYPE html>
<html lang="en">
<head>
    <meta charset="UTF-8">
    <meta name="viewport" content="width=device-width, initial-scale=1.0">
    <title>Basic HTML5 Form</title>
</head>
<body>

    <h1>Contact Us</h1>

    <form action="/submit-form" method="post">
        <label for="name">Full Name:</label>
        <input type="text" id="name" name="name" required>

        <br><br>

        <label for="email">Email Address:</label>
        <input type="email" id="email" name="email" required>

        <br><br>

        <label for="message">Your Message:</label>
        <textarea id="message" name="message" required></textarea>

        <br><br>

        <button type="submit">Send Message</button>
    </form>

</body>
</html>
How Does This Code Work?
- The
<form>element contains the form controls. - The
actionattribute specifies the URL that receives the submitted form data. - The
method="post"attribute sends the data in the request body. - The
<label>element identifies each field. - The
<input>element creates a field for short information. - The
<textarea>element provides a space for longer messages. - The
requiredattribute prevents submission when a required field is empty. - The submit button allows users to send their information.
The example uses /submit-form as a placeholder endpoint. For the form to process submissions successfully, you must implement a suitable server-side endpoint.
2. Understanding HTML5 Form Elements
HTML5 provides several elements for collecting different types of information. Choosing the correct element helps make forms easier to use and understand.
The <form> Element
The <form> element groups the controls used to collect and submit information.
Example:
<form action="/register" method="post">
    <!-- Form controls go here -->
</form>
The action attribute specifies where the data is sent, while the method attribute determines how the browser submits it.
The two most common methods are:
- GET: Appends submitted data to the URL as query parameters. It is appropriate for searches and other non-sensitive requests.
- POST: Sends submitted data in the request body. It is commonly used for registrations and other operations that create or update information.
POST does not automatically encrypt data. Use HTTPS to protect information during transmission.
The <input> Element
The <input> element creates a range of form controls depending on its type attribute.
For example:
<input type="text" name="username">
<input type="email" name="email">
<input type="password" name="password">
Each field serves a different purpose. A text input collects general text, an email input checks for an email-like format, and a password input masks the displayed characters.
The <label> Element
The <label> element describes a form control. Connect a label to an input by matching the label’s for attribute with the input’s id.
<label for="username">Username:</label>
<input type="text" id="username" name="username">
Labels improve usability and accessibility because users can identify each field more easily. Clicking a label can also focus its associated control.
The <textarea> Element
Use <textarea> when users need to enter longer text, such as comments, feedback, or contact messages.
<label for="message">Your Message:</label>
<textarea id="message" name="message" rows="5"></textarea>
The rows attribute provides a suggested visible height for the text area.
The <button> Element
Buttons let users submit a form or perform other actions.
<button type="submit">Submit Form</button>
<button type="reset">Reset Form</button>
A submit button submits the form, while a reset button restores form controls to their initial values. Use reset buttons carefully because users may accidentally lose their entered information.
3. Common HTML5 Input Types
HTML5 offers several input types that help browsers display suitable controls and perform basic validation.
| Input type | Purpose |
|---|---|
text |
Collects general text |
email |
Collects an email address |
password |
Masks entered characters |
number |
Collects numeric values |
tel |
Collects telephone numbers |
url |
Collects a website address |
date |
Lets users select a date |
time |
Lets users enter or select a time |
checkbox |
Allows independent selections |
radio |
Allows one selection from a group |
file |
Lets users choose a file |
submit |
Creates a form submission control |
Example of Different Input Types
<form action="/submit-details" method="post">

    <label for="age">Age:</label>
    <input type="number" id="age" name="age" min="18" max="100">

    <br><br>

    <label for="birthday">Date of Birth:</label>
    <input type="date" id="birthday" name="birthday">

    <br><br>

    <label for="website">Website:</label>
    <input type="url" id="website" name="website">

    <br><br>

    <button type="submit">Submit</button>

</form>
Using appropriate input types improves the experience on different devices. For example, mobile browsers may display a numeric keypad for number fields or a specialized picker for dates.
4. How to Use Checkboxes, Radio Buttons, and Dropdown Menus
Some forms require users to select from predefined options rather than enter everything manually. HTML5 supports checkboxes, radio buttons, and dropdown menus for these situations.
Creating Checkboxes
Checkboxes allow users to select multiple independent options.
<p>Select your interests:</p>

<label>
    <input type="checkbox" name="interests" value="html">
    HTML5
</label>

<label>
    <input type="checkbox" name="interests" value="css">
    CSS3
</label>

<label>
    <input type="checkbox" name="interests" value="javascript">
    JavaScript
</label>
A user can select HTML5, CSS3, JavaScript, or any combination of these options.
Creating Radio Buttons
Radio buttons are useful when users must choose one option from a group.
<p>Select your experience level:</p>

<label>
    <input type="radio" name="level" value="beginner" required>
    Beginner
</label>

<label>
    <input type="radio" name="level" value="intermediate">
    Intermediate
</label>

<label>
    <input type="radio" name="level" value="advanced">
    Advanced
</label>
Radio buttons with the same name belong to the same group, so users can select only one option from that group.
Creating a Dropdown Menu
Use the <select> element to create a dropdown list.
<label for="course">Choose a Course:</label>

<select id="course" name="course" required>
    <option value="">Select a course</option>
    <option value="html">HTML5</option>
    <option value="css">CSS3</option>
    <option value="javascript">JavaScript</option>
</select>
The <option> elements define the available choices. Including an empty placeholder option can help users understand that they need to make a selection.
5. How to Validate Forms in HTML5
Form validation helps prevent incomplete or incorrectly formatted information from being submitted. HTML5 includes several attributes that provide basic validation without requiring JavaScript.
Common validation attributes include:
required: Makes a field mandatory.minlength: Sets the minimum number of characters.maxlength: Sets the maximum number of characters.minandmax: Set numeric or date limits where supported.pattern: Defines a regular expression that the input must match.step: Specifies permitted increments for applicable numeric inputs.
Example of an HTML5 Form with Validation
<form action="/register" method="post">

    <label for="username">Username:</label>
    <input
        type="text"
        id="username"
        name="username"
        minlength="3"
        maxlength="20"
        required
    >

    <br><br>

    <label for="email">Email Address:</label>
    <input
        type="email"
        id="email"
        name="email"
        required
    >

    <br><br>

    <label for="age">Age:</label>
    <input
        type="number"
        id="age"
        name="age"
        min="18"
        max="100"
        required
    >

    <br><br>

    <button type="submit">Register</button>

</form>
In this example, the browser checks that the username meets the length requirements, the email resembles a valid email address, and the age falls within the specified range.
However, client-side validation is not a substitute for server-side validation. Users can bypass browser checks, so the server must validate submitted values independently before processing or storing them.
 6. Step-by-Step Guide to Creating Your First HTML5 Form
If you are learning web development, follow these steps to create a working form interface.
Step 1: Open a Code Editor
Open Visual Studio Code, Notepad++, or another text editor.
Step 2: Create an HTML File
Create a file named html5-form.html.
Step 3: Add the Basic HTML Structure
Start with <!DOCTYPE html> and include the <html>, <head>, and <body> elements.
Step 4: Add the Form Element
Place a <form> element inside the body. Set an appropriate action and method based on how the form will be processed.
Step 5: Add Labels and Input Fields
Create labels and corresponding controls for the information you want to collect. Give each submitted control a meaningful name attribute.
Step 6: Add Validation
Use attributes such as required, minlength, and type="email" to improve data entry and catch common errors.
Step 7: Add a Submit Button
Include a button with type="submit" so users can submit their information.
Step 8: Test the Form
Open the file in a browser. Try leaving required fields empty, entering invalid values, and selecting different options.
Step 9: Connect a Backend
To receive and process submissions, connect the form to a server endpoint that validates the data and performs the required action. A static HTML page alone does not save submissions to a database or automatically send emails.
7. How to Style HTML5 Forms with CSS
CSS can make forms more professional, consistent, and comfortable to use.
<style>
    form {
        max-width: 450px;
        margin: 20px auto;
        padding: 20px;
        font-family: Arial, sans-serif;
    }

    label {
        display: block;
        margin-bottom: 6px;
    }

    input,
    textarea,
    select {
        box-sizing: border-box;
        width: 100%;
        padding: 10px;
        margin-bottom: 16px;
        border: 1px solid #cccccc;
        border-radius: 5px;
    }

    button {
        padding: 10px 18px;
        border: none;
        border-radius: 5px;
        cursor: pointer;
    }

    input:focus,
    textarea:focus,
    select:focus {
        outline: 2px solid #276ef1;
        outline-offset: 1px;
    }
</style>
This CSS creates a form with consistent spacing, full-width input fields, and a visible focus indicator for keyboard users.
When styling forms, keep labels readable, maintain sufficient color contrast, and ensure that buttons and fields are easy to use on mobile devices.
8. Best Practices for Creating HTML5 Forms
Follow these practices when developing forms for real-world websites:
- Use meaningful labels: Clearly explain what users should enter in each field.
- Choose appropriate input types: Use email, date, number, and other relevant types when suitable.
- Use descriptive names: Give form controls meaningful
nameattributes so the server can identify submitted values. - Validate submitted data: Use browser validation for convenience and server-side validation for security and reliability.
- Protect sensitive information: Use HTTPS and avoid collecting information that is not necessary.
- Make forms accessible: Support keyboard navigation, visible focus indicators, and helpful error messages.
- Keep forms simple: Ask only for information needed to complete the task.
- Provide submission feedback: Tell users whether their submission succeeded or what they need to correct.
- Handle file uploads carefully: Validate file types, sizes, and content on the server.
These practices improve the usability, reliability, and security of your forms.
9. Why Learning HTML5 Forms Matters for Students, Developers, and Freelancers
HTML5 forms are an essential skill for anyone who wants to build interactive websites.
For students: Creating forms helps students understand HTML elements, attributes, validation, and how websites collect user input. Small projects such as surveys and registration forms provide practical coding experience.
For web developers: Forms are used in authentication interfaces, search features, booking systems, checkout pages, and administrative dashboards. Understanding form controls provides a foundation for integrating frontend interfaces with APIs and backend applications.
For freelancers: Clients often need contact forms, lead generation forms, quote request forms, and appointment booking interfaces. Knowing how to create accessible and well-designed forms helps freelancers deliver more useful websites.
For SEO and user experience: Clear forms can make it easier for visitors to contact a business, request information, or complete a registration. Forms do not automatically improve search rankings, but a smooth and accessible user experience can support broader website goals.
Conclusion
Creating forms in HTML5 is straightforward when you understand the purpose of the main elements. Use <form> to group controls, <input> to collect common data types, <label> to describe fields, <textarea> for longer messages, and buttons to submit information.
You can improve your forms with checkboxes, radio buttons, dropdown menus, CSS styling, and built-in validation attributes. For real-world projects, remember to connect the form to a backend and validate submitted data on the server.
Start by creating a simple contact form, test it in your browser, and gradually add more advanced controls. Practicing these skills will help you build accessible, user-friendly forms for professional websites and future web development projects.