
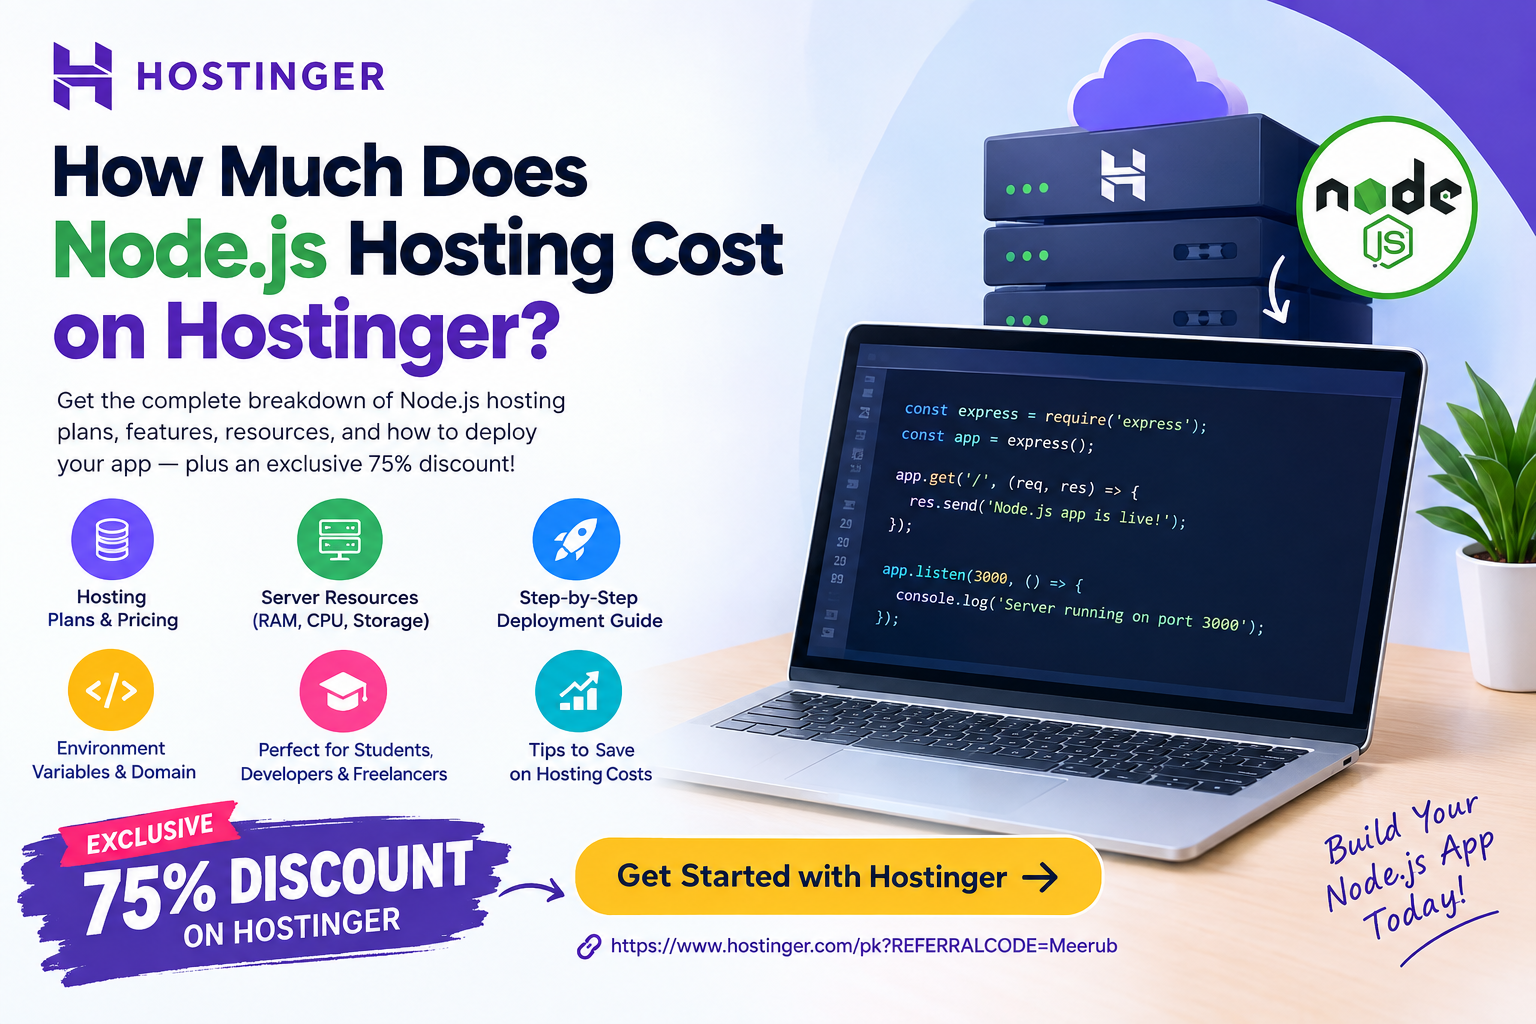
Hosting a Node.js web app on Hostinger can cost from a few dollars per month depending on the hosting plan, resources, billing term, and promotional pricing available at the time of purchase. For small Node.js applications, APIs, portfolios, student projects, and freelance apps, Hostinger can be a cost-effective option because you can deploy Node.js applications without managing a full traditional server from scratch.
How Much Does Node.js Hosting Cost on Hostinger?
The cost of hosting a Node.js web application on Hostinger depends primarily on which hosting environment you choose and how much server power your application requires.
Unlike a basic HTML website, a Node.js application needs a server environment capable of running the Node.js runtime and keeping your application available to visitors. Your actual cost can therefore vary according to:
- Hosting plan and server resources
- Monthly versus longer-term billing
- Promotional or introductory pricing
- RAM and CPU requirements
- Storage requirements
- Expected traffic
- Database requirements
- Whether your application needs additional services
For a small application, you generally do not need an expensive dedicated server. A suitable Hostinger plan can be enough for development projects, portfolios, small business applications, REST APIs, dashboards, and other lightweight Node.js projects.

What Is Node.js Hosting?
Node.js is a JavaScript runtime that allows developers to execute JavaScript on a server.
For example, you can build a web application using:
- Node.js
- Express.js
- Next.js
- npm packages
- REST APIs
- MongoDB or other databases
- Authentication systems
- Server-side JavaScript
When you develop a Node.js application locally, it may run at an address such as:
localhost:3000
However, visitors on the internet cannot access your local computer. You need a hosting server where Node.js is installed and your application can run continuously.
This is where Node.js-compatible hosting becomes important.
What Determines the Cost of Hosting a Node.js App?
There isn’t one universal price for every Node.js application. The correct hosting budget depends on the application’s requirements.
1. Application Size
A simple portfolio or small Express.js API requires considerably fewer resources than a large SaaS platform.
For example, a small application might contain:
- A few routes
- Simple API endpoints
- A small database
- Low daily traffic
- Minimal background processing
Such an application generally doesn’t require a powerful server.
A larger application with thousands of simultaneous visitors, image processing, background jobs, and multiple databases needs considerably more resources.
2. RAM Requirements
RAM is particularly important for Node.js applications.
Your application consumes memory when Node.js starts, when dependencies are loaded, and when requests are processed.
If your application requires more memory than your hosting environment provides, you may experience:
- Slow performance
- Application crashes
- Failed deployments
- Server errors
- Restart loops
Therefore, don’t select a plan based only on storage. Consider RAM and CPU resources as well.
3. Traffic
Traffic also affects hosting requirements.
A personal Node.js project receiving 100 visitors per day has very different requirements from an application receiving 100,000 requests per day.
Before purchasing a plan, estimate:
- Monthly visitors
- API requests
- File downloads
- Database queries
- Peak concurrent users
Start with an appropriate smaller configuration and scale when your application actually needs additional resources.
How to Host a Node.js Web App on Hostinger
The exact interface and available Node.js features can change as Hostinger updates its hosting platform, so always check the current plan specifications before purchasing.
The general deployment process looks like this.
Step 1: Build Your Node.js Application
First, create and test your application locally.
For example, a basic Express project might contain:
my-node-app/
├── package.json
├── server.js
├── routes/
├── public/
└── views/
Your package.json defines the application’s dependencies and scripts.
A typical start script might look like:
{
  "scripts": {
    "start": "node server.js"
  }
}
The important point is that your production hosting environment needs to know how to start your Node.js application.
Step 2: Test the Application Locally
Before uploading anything to your hosting account, test the application on your computer.
For example:
npm install
npm start
Then open your local application in a browser.
If the application works locally but fails after deployment, investigate:
- Environment variables
- Node.js version
- File paths
- Database connection
- Port configuration
- Missing dependencies
- Production configuration
Testing locally first can save considerable troubleshooting time.
Step 3: Select a Hostinger Plan
Next, choose a Hostinger hosting environment that supports your Node.js application’s requirements.
When comparing plans, don’t focus exclusively on the advertised introductory price.
Check:
- Node.js support
- Available RAM
- CPU resources
- Storage
- Bandwidth
- Database support
- Deployment options
- SSL availability
- Backups
- Renewal pricing
Important: promotional pricing can be different from the regular renewal price. Always check the checkout page for the current price and billing terms before purchasing.
Step 4: Upload or Deploy Your Application
Depending on the hosting environment and current Hostinger tools, you may deploy your application using available file-management, Git, or application-management features.
A typical workflow involves:
- Uploading your project.
- Installing dependencies.
- Configuring environment variables.
- Selecting the appropriate Node.js version.
- Setting the application startup command.
- Configuring the domain.
- Starting the application.
- Testing the live website.
For Git-based development, the workflow can be even easier because you can maintain your project in a repository and deploy updated versions as your application develops.
Don’t Forget Environment Variables
One of the most common mistakes beginners make is putting passwords and API keys directly into source code.
Instead of writing:
const password = "my-secret-password";use environment variables.
For example:
const password = process.env.DB_PASSWORD;Your production environment can then contain values such as:
DB_PASSWORD=your-secure-password
API_KEY=your-api-key
DATABASE_URL=your-database-url
This is particularly important when deploying applications through Git repositories because accidentally committing credentials can create a serious security problem.
Connecting a Domain to Your Node.js App
After deploying the application, you’ll usually want visitors to access it through a professional domain instead of a temporary hosting address.
For example:
yourdomain.comrather than:
server-address:3000A typical setup involves:
- Registering your domain.
- Pointing DNS records toward your hosting environment.
- Configuring the domain inside your hosting account.
- Connecting the domain to the Node.js application.
- Enabling HTTPS.
- Testing the website.
HTTPS is especially important for applications involving:
- Login forms
- User accounts
- Contact forms
- Payments
- APIs
- Personal information
Why Hostinger Can Be Useful for Students
For students learning web development, hosting a real Node.js application can be an excellent way to move beyond localhost development.
Instead of simply saying:
“I know Node.js.”
you can show a working project online.
For example, you could build and publish:
- Student management systems
- To-do applications
- REST APIs
- Portfolio websites
- Blogging platforms
- URL shorteners
- Expense trackers
- Small SaaS prototypes
A live project can also become part of your portfolio when applying for internships or junior developer positions.
Benefits for Freelance Developers
Freelancers can also benefit from affordable Node.js hosting.
Suppose you’re developing a small custom application for a client. Instead of immediately purchasing expensive infrastructure, you can start with an appropriate hosting solution and upgrade resources when the application grows.
This can help freelancers control project costs while maintaining a professional deployment.
For example, you might use Node.js hosting for:
- Custom client dashboards
- Lead management systems
- Booking applications
- Internal business tools
- API backends
- Small e-commerce applications
- Marketing automation tools
The key is to match the hosting resources to the client’s actual requirements.
Is Hostinger Cheap Enough for a Node.js App?
For small and medium-sized projects, Hostinger can be an attractive option because developers don’t necessarily need to begin with expensive infrastructure.
However, “cheap” shouldn’t mean choosing the absolute lowest-priced plan without checking compatibility.
Your application should have enough resources to operate reliably.
Before buying, ask yourself:
Does my app have low traffic?
If yes, a smaller hosting configuration may be sufficient.
Does my app use a database?
If yes, verify that your chosen environment supports the database technology and connection requirements.
Does my app perform heavy processing?
If your application performs video processing, large data calculations, AI workloads, or other CPU-intensive tasks, you may need substantially more powerful infrastructure.
Do I expect rapid growth?
If you’re launching a SaaS application, choose a hosting setup that allows you to scale as your user base grows.
Hostinger vs. Expensive Cloud Infrastructure
Developers often hear about platforms such as AWS, Google Cloud, and other cloud providers and assume that professional Node.js hosting must be complicated.
That’s not necessarily true.
Cloud platforms can provide extremely powerful and flexible infrastructure, but they can also require more technical knowledge around:
- Server configuration
- Networking
- Security
- Monitoring
- Deployment
- Scaling
- Billing
- Infrastructure management
For a beginner or freelancer who wants to get a small Node.js application online quickly, a managed hosting environment can be easier to work with.
As your project becomes more complex, you can always evaluate more advanced infrastructure.
How to Reduce Node.js Hosting Costs
You can keep your hosting expenses under control by following a few practical strategies.
Start Small
Don’t pay for resources you don’t currently need.
Optimize Your Application
Reduce unnecessary packages, optimize database queries, compress assets, and avoid inefficient server-side operations.
Monitor Usage
Watch resource consumption and traffic as your application grows.
Use Caching
Caching frequently requested data can reduce unnecessary database and server processing.
Optimize Images
Large images can consume storage and bandwidth unnecessarily.
Keep Dependencies Updated
Maintaining dependencies can improve security and sometimes reduce unnecessary overhead.
What Should You Budget?
For a small Node.js application, your initial goal should be affordable, compatible hosting rather than maximum server power.
The exact amount you pay on Hostinger depends on the current plan, promotional offer, subscription duration, and renewal price. Therefore, rather than relying on an outdated fixed price, check the current Hostinger pricing page before purchasing.
For a student project, portfolio, small API, or early-stage application, starting with an appropriate lower-cost Node.js-compatible plan can make sense. Once traffic and resource requirements increase, you can upgrade accordingly.
Final Verdict: How Much Does Hosting a Node.js App Cost on Hostinger?
Hostinger can be a cost-effective choice for hosting a Node.js web application, particularly for students, freelancers, developers, portfolios, APIs, and small business applications. Your final cost depends on the current hosting plan, promotional pricing, subscription term, resources, and renewal rates.
The most important thing isn’t simply finding the cheapest hosting plan. Instead, choose a plan that provides sufficient Node.js support, RAM, CPU, storage, database capabilities, and scalability for your application.
If you’re launching your first Node.js application, starting with a reasonably priced compatible Hostinger environment can provide a practical balance between cost, ease of deployment, and performance.
🚀 Get Hostinger with an Exclusive 75% Discount
Ready to put your Node.js application online?
You can check Hostinger’s current plans and use the referral offer below. An exclusive 75% discount offer is available through this promotion, subject to the current offer and checkout terms.
👉 GET 75% OFF HOSTINGER
Build your Node.js project, connect your domain, deploy your application, and start sharing your project with the world.