
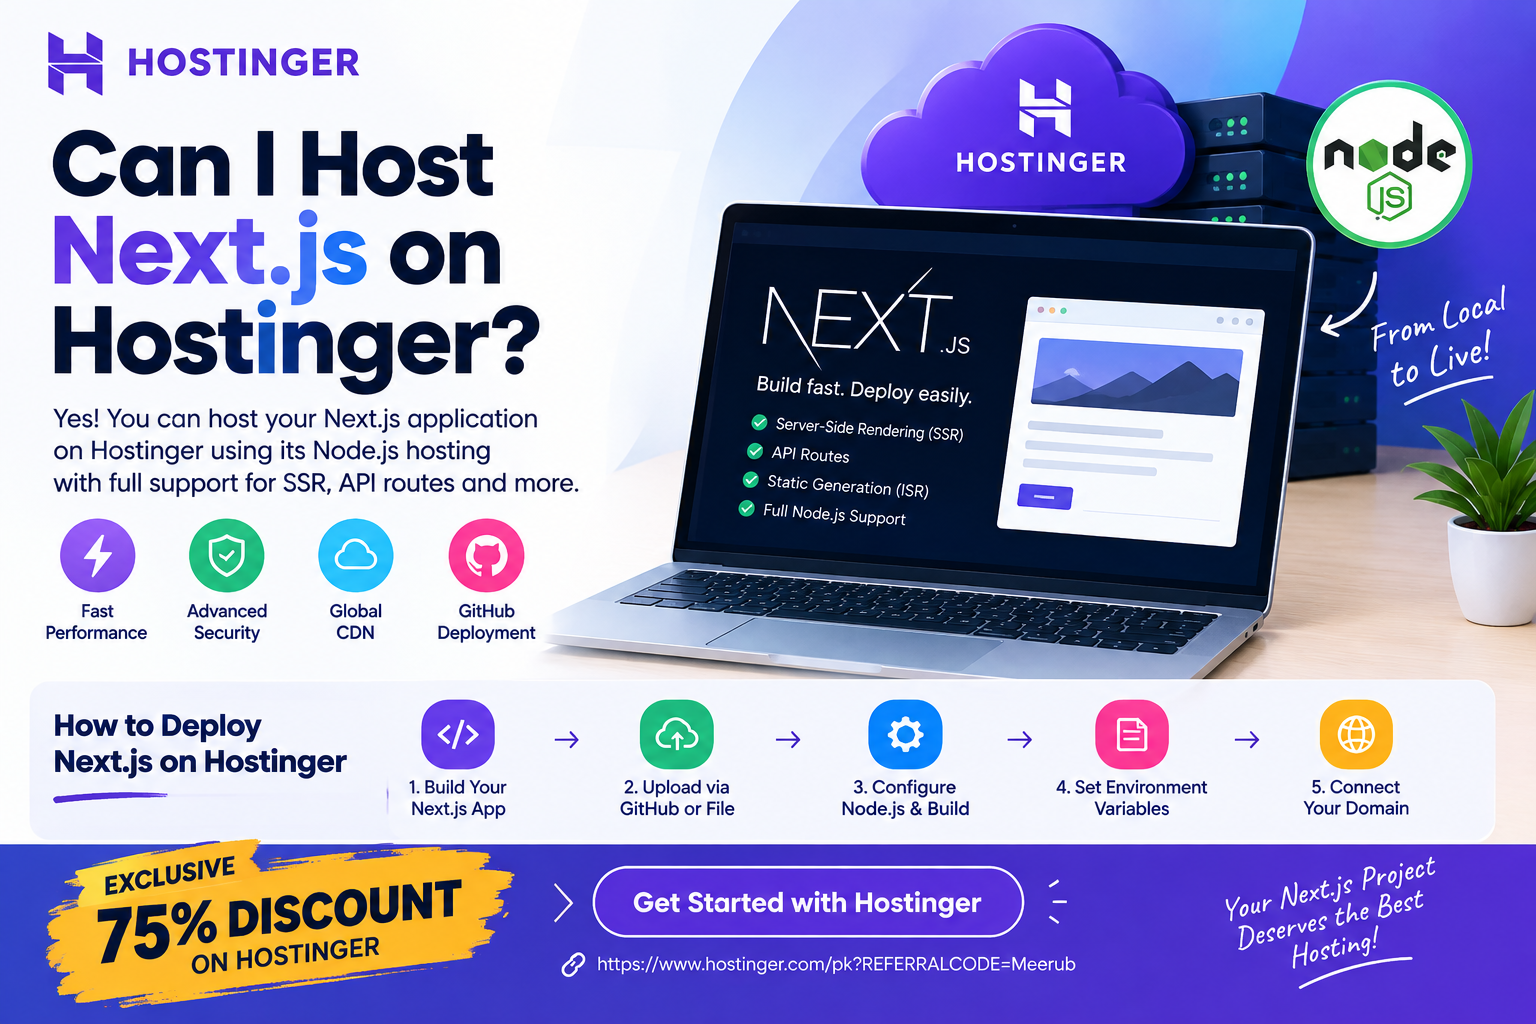
Yes, you can host Next.js on Hostinger, and it can be a practical option for developers, students, freelancers, startups, and businesses that want to deploy a modern JavaScript application without managing every part of the underlying server infrastructure.
Next.js is a popular React framework for building production-ready websites and full-stack web applications. Unlike a purely static HTML website, a Next.js project can use server-side rendering, dynamic pages, API route handlers, database connections, and other server-side functionality. Because of this, your hosting environment needs to support the Node.js runtime and the way your Next.js application is built.
 Hostinger currently lists Next.js among its supported Node.js frameworks and provides a dedicated workflow for deploying Node.js applications. Its supported Node.js versions include 18.x, 20.x, 22.x, and 24.x, although the versions available to you can depend on the hosting environment.
Why Host Next.js on Hostinger?
There are several reasons developers may consider Hostinger for a Next.js project.
1. Node.js Support
Next.js applications can require a Node.js runtime, particularly when you’re using dynamic functionality, SSR, API routes, or other server-side features.
Hostinger’s Node.js hosting is designed to provide the environment required to build and run these applications.
2. GitHub Deployment
If your Next.js project is stored on GitHub, you don’t necessarily need to manually upload every file.
Hostinger provides a workflow where you can connect your GitHub repository, select the project, configure the deployment settings, and launch the application. Private GitHub repositories are also supported.
3. Less Server Management
With a traditional VPS, you may need to manage:
- The operating system
- Node.js installation
- Server configuration
- Process management
- Security updates
- Deployment configuration
- Runtime settings
Hostinger’s managed Node.js environment is designed to handle much of this infrastructure for you, making deployment easier for developers who don’t want to spend their time maintaining a server.

How to Host a Next.js App on Hostinger
The process is relatively straightforward if your application is already working locally.
Step 1: Create Your Next.js Application
If you’re starting a new project, you can create a Next.js application using the standard Next.js setup process.
For example:
npx create-next-app@latest my-next-appMove into the project:
cd my-next-appThen start the development server:
npm run devYour application should normally become available through your local development URL.
At this stage, test your pages, navigation, forms, API functionality, images, and database integrations before deploying.
Step 2: Prepare the Project for Production
Before sending your application to Hostinger, make sure your project can successfully create a production build.
Run:
npm installThen:
npm run buildA production build helps identify problems that might not appear while using the development server.
Pay particular attention to:
- Missing environment variables
- Incorrect API URLs
- Database connection errors
- Unsupported packages
- Image configuration
- Server-side code
- Build-time errors
For a dynamic Next.js application, you should also test the production application locally using the appropriate production start command.
Step 3: Upload Your Next.js App to Hostinger
Hostinger’s current Node.js deployment workflow allows you to connect a GitHub repository or upload a compressed project file. Its documentation specifically lists Next.js as a supported framework.
The general workflow is:
- Log in to your Hostinger account.
- Open your website management area.
- Select the option to add or deploy a Node.js web application.
- Connect your GitHub repository or upload your project.
- Allow Hostinger to detect the framework.
- Review the build and runtime configuration.
- Deploy the application.
Hostinger’s documentation describes the current workflow as Websites → Add Website → Node.js Web App, followed by connecting GitHub or uploading compressed project files.
Step 4: Configure Your Next.js Build Settings
Your project needs the correct build configuration.
A typical Next.js project uses:
npm installfor installing dependencies and:
npm run buildfor creating the production build.
Your package.json should contain the scripts required to build and start your application.
For example:
{
  "scripts": {
    "dev": "next dev",
    "build": "next build",
    "start": "next start"
  }
}
The exact configuration can vary depending on your Next.js version and project architecture.
Hostinger’s web app hosting workflow can auto-detect the framework and handle the relevant build process, reducing the amount of manual configuration required.
Step 5: Configure Environment Variables
This is one of the most important steps when deploying a Next.js application.
If your application uses:
- Database credentials
- API keys
- Authentication secrets
- Payment APIs
- Third-party services
- Private application settings
don’t place sensitive credentials directly into your source code.
Instead, configure the required environment variables through your hosting environment.
For example:
DATABASE_URL=your_database_connection
API_SECRET=your_secret_key
NEXT_PUBLIC_API_URL=https://example.com/api
Remember that variables beginning with NEXT_PUBLIC_ can be exposed to the browser, so never place private credentials in a public environment variable.
Step 6: Connect Your Domain
Once your Next.js application is successfully deployed, you can connect your domain.
For example:
www.example.cominstead of asking visitors to use a temporary application URL.
The general process is:
- Add your domain to the hosting account.
- Configure the required DNS records.
- Point the domain toward your hosting environment.
- Configure the domain for the deployed application.
- Enable HTTPS.
- Test the live website.
A secure HTTPS connection is essential for modern websites, especially applications containing login forms, customer information, payments, or other sensitive data.
Does Hostinger Support Next.js SSR and API Routes?
Yes. Hostinger’s current Next.js hosting information specifically states that its Node.js hosting handles the build, runtime, and routing required for Next.js applications, including SSR, ISR, and API routes.
This is important because not every hosting environment works the same way.
A static website can simply serve pre-generated HTML, CSS, and JavaScript files. A dynamic Next.js application may need a running Node.js environment to process requests and generate responses.
For example, you might have:
/blog
/products
/dashboard
/api/users
/api/contact
Some of these routes may be generated statically, while others may require server-side functionality.
Next.js gives developers the flexibility to combine different rendering approaches within the same application.
Can Students Use Hostinger for Next.js?
Absolutely.
Students learning React and Next.js can benefit from deploying their projects online instead of keeping everything on localhost.
For example, you could build:
- Student management systems
- Personal portfolios
- Blog platforms
- Weather applications
- REST API projects
- Job boards
- Expense trackers
- E-commerce prototypes
- AI-powered web applications
A live project can also become part of your developer portfolio.
Instead of simply telling an employer that you know Next.js, you can provide a working URL where they can actually test your application.
Is Hostinger Good for Freelancers?
Hostinger can also be useful for freelancers building smaller client applications.
Imagine you’re creating a custom Next.js website for a local business.
You may need:
- A professional domain
- HTTPS
- Next.js support
- Node.js runtime
- Database connectivity
- GitHub deployment
- Reliable hosting
- An easy management dashboard
Using a managed Node.js environment can reduce the amount of server administration required.
That means you can spend more time working on the client’s website, SEO, functionality, and user experience instead of spending hours configuring a server.
Hostinger vs. VPS for Next.js
A VPS gives you greater control, but it also comes with greater responsibility.
With a VPS, you may have to configure:
- Linux
- Node.js
- Nginx
- SSL
- Firewall rules
- Process managers
- Server security
- Backups
- Deployment pipelines
Hostinger’s managed Node.js hosting takes a simpler approach, handling much of the server setup for you. Hostinger itself describes the difference as having to manage the OS, Node.js version, security updates, and deployment on a VPS versus using its managed environment.
For an experienced DevOps engineer, a VPS may provide useful flexibility.
For a student, freelancer, or developer who wants to launch an application quickly, managed hosting can be considerably easier.
What About Next.js Performance?
Hosting is only one part of Next.js performance.
You should also optimize your application.
Important areas include:
- Image optimization
- JavaScript bundle size
- Database queries
- API response times
- Caching
- Server-side rendering strategy
- Core Web Vitals
- CDN configuration
- Unnecessary third-party scripts
Hostinger’s Next.js hosting offering includes CDN options and allows you to select infrastructure closer to your audience, which can help with content delivery and performance.
However, hosting alone cannot fix poorly optimized application code.
How Much Traffic Can a Next.js App Handle?
There isn’t one universal traffic number because performance depends on the application’s architecture and the resources available to it.
A simple portfolio might receive thousands of visitors without requiring substantial resources.
A complex application with:
- Real-time functionality
- Large database queries
- Heavy API usage
- Image processing
- Authentication
- Background jobs
may need more resources as traffic increases.
Hostinger’s current Next.js hosting information notes that plans have resource limits, and applications that consistently exceed their plan’s capacity may need to be upgraded.
Therefore, start with an appropriate plan and monitor your application’s performance rather than paying for maximum infrastructure before you need it.
Final Verdict: Can You Host Next.js on Hostinger?
Yes, you can host Next.js on Hostinger.
Hostinger currently supports Next.js through its Node.js web application hosting environment and provides deployment options including GitHub integration and project uploads. Its platform is designed to handle the build, Node.js runtime, and routing required by modern Next.js applications, including SSR, ISR, and API routes.
For students, it provides a practical way to put projects online.
For freelancers, it can simplify client deployments.
For developers, it provides a managed alternative to configuring a VPS manually.
For startups and small businesses, it can provide a straightforward path from a locally developed Next.js application to a publicly accessible website.
Before purchasing, always check the current Hostinger plan specifications, available Node.js versions, resource limits, and renewal pricing because hosting features and promotional prices can change.
🚀 Exclusive 75% Discount on Hostinger
Ready to deploy your Next.js application?
Get started with Hostinger and take your project from localhost to a live production website without dealing with unnecessary server complexity.
🔥 EXCLUSIVE 75% DISCOUNT
Save on your Hostinger hosting and start deploying your Next.js application today.
👉 GET 75% OFF HOSTINGER
Whether you’re building a Next.js portfolio, SaaS project, business website, API, student project, or freelance application, Hostinger gives you a straightforward way to move your project online.
Build it. Deploy it. Connect your domain. Make your Next.js project live.