
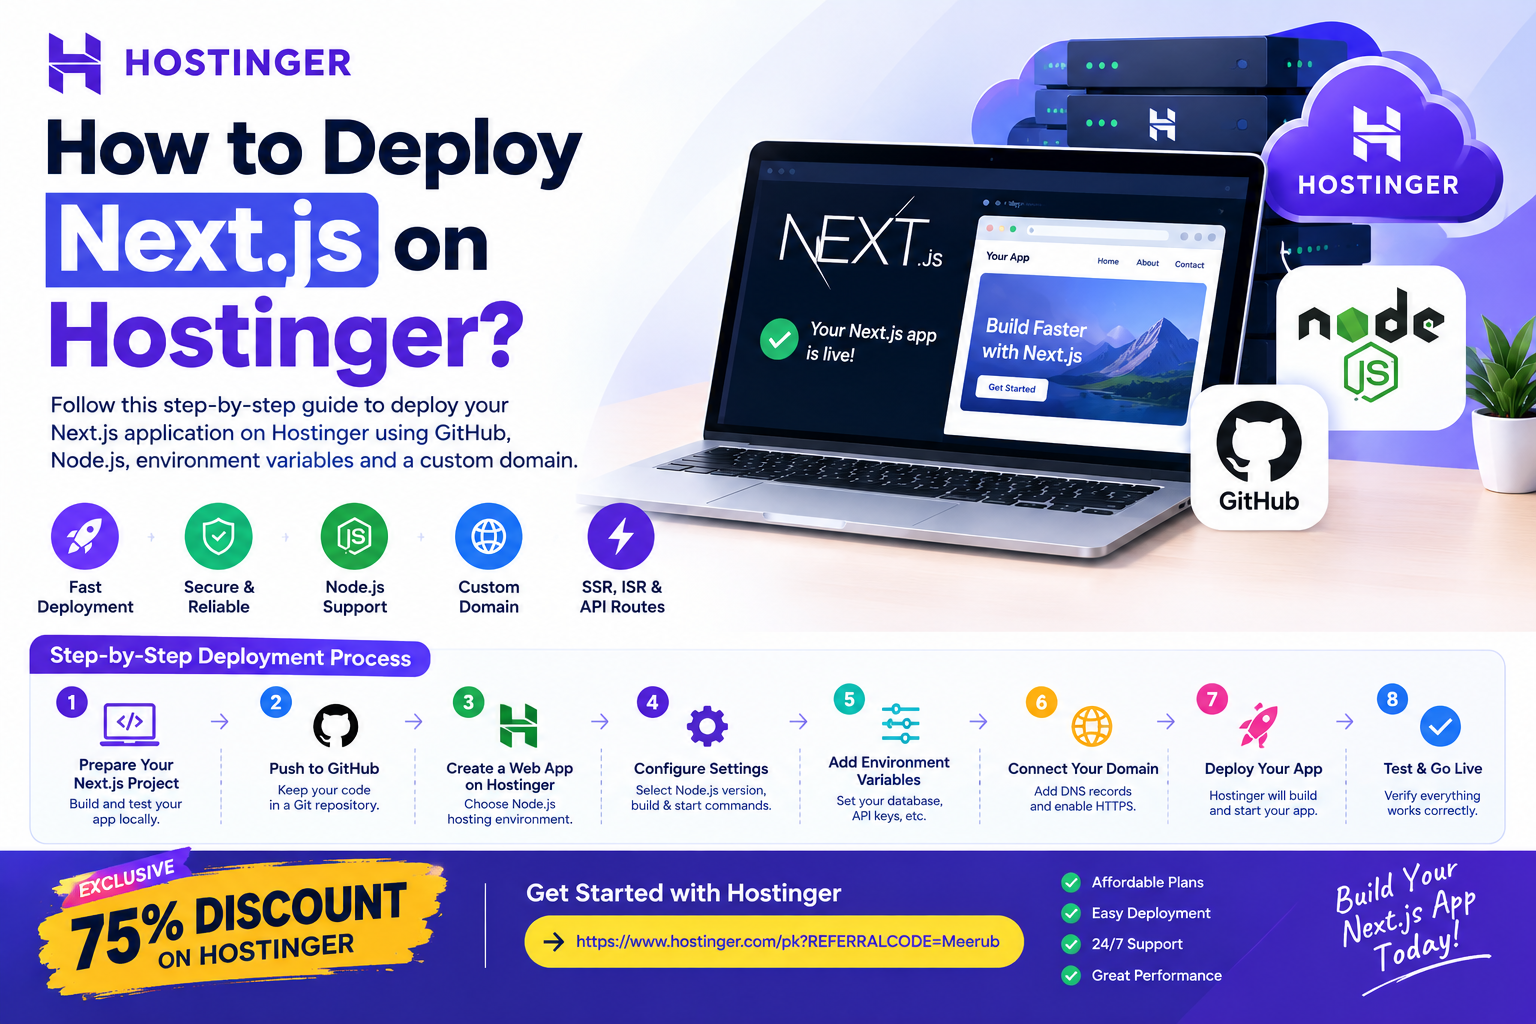
Deploying a Next.js application can seem complicated if you have only worked with localhost development. Fortunately, modern hosting platforms have made the process much easier, and Hostinger provides a Node.js web application hosting environment designed for frameworks such as Next.js.
A typical Next.js development workflow looks like this:
Build locally → Test → Push to GitHub → Deploy → Configure environment variables → Connect domain → Launch
 This approach allows students, developers, freelancers, startups, and businesses to take a Next.js project from a local computer to a publicly accessible website.
In this guide, you’ll learn how to deploy your Next.js app on Hostinger step by step.
Why Use Hostinger for Next.js?
Next.js is more than a basic HTML website. Depending on how your project is built, it can require a Node.js runtime for server-side rendering, API functionality, dynamic routes, and other server-side features.
Hostinger’s Node.js-compatible hosting environment makes it possible to run these types of applications without requiring you to manually configure an entire VPS from scratch.
Some useful advantages include:
- Node.js application support
- Next.js deployment capabilities
- GitHub-based deployment
- Domain connectivity
- SSL/HTTPS
- Server resources for web applications
- Easier management compared with manually configuring a VPS
- Options for scaling as application requirements increase
This makes Hostinger particularly interesting for developers who want to focus on building applications instead of spending excessive time managing server infrastructure.

Step 1: Prepare Your Next.js Application
Before deploying your application, make sure it works correctly on your local computer.
If you are creating a new Next.js project, you can start with:
npx create-next-app@latest my-next-appThen enter the project directory:
cd my-next-appInstall the required packages:
npm installStart the development server:
npm run devOpen your local application in your browser and test all important functionality.
Check your:
- Homepage
- Navigation
- Images
- Forms
- API routes
- Authentication
- Database connections
- Dynamic pages
- Mobile layout
Don’t deploy an application until the basic functionality works locally.
Step 2: Create a Production Build
One of the most important steps before deployment is creating a production build.
Run:
npm run buildNext.js will compile and optimize your application for production.
If the build succeeds, that’s a good indication that your project is ready for deployment.
If you receive errors, fix them before uploading the project.
Common build problems include:
- Missing dependencies
- Incorrect imports
- Invalid environment variables
- Database configuration errors
- Unsupported packages
- Incorrect image configuration
- Server-side code being used incorrectly
- TypeScript errors
Fixing these issues locally is usually easier than trying to troubleshoot them after deployment.
Step 3: Check Your package.json
Your package.json file tells the hosting environment how your application should be installed, built, and started.
A typical Next.js project may contain scripts similar to:
{
  "scripts": {
    "dev": "next dev",
    "build": "next build",
    "start": "next start"
  }
}
The exact scripts can vary depending on your project.
The important thing is that your hosting environment knows which command should be used to build and run your application.
For a standard Next.js application, the production workflow generally involves:
npm install
npm run build
npm start
Step 4: Upload Your Project to GitHub
One of the easiest ways to manage a Next.js deployment is to store your project in GitHub.
Create a Git repository for your project and push the application.
For example:
git init
git add .
git commit -m "Initial Next.js project"
git branch -M main
git remote add origin YOUR_GITHUB_REPOSITORY
git push -u origin main
Before pushing your project, make sure sensitive files and credentials aren’t accidentally committed.
Your .gitignore should normally prevent files such as local environment configurations from being uploaded.
For example:
.env
.env.local
node_modules
.next
Never put passwords, private API keys, database credentials, or authentication secrets directly into your public GitHub repository.
Step 5: Log In to Hostinger
Once your project is ready, log in to your Hostinger account.
Look for the option to create or deploy a Node.js web application.
Hostinger’s interface can change over time, but the general process is to create a web application and select the appropriate Node.js environment.
This is where Hostinger becomes useful because you don’t necessarily have to manually configure a Linux server, install Node.js, configure a reverse proxy, and manage the application process yourself.
Step 6: Connect Your GitHub Repository
If your Next.js project is hosted on GitHub, connect the repository to your Hostinger web application.
You’ll generally need to select:
- GitHub repository
- Branch
- Application location
- Node.js version
- Build command
- Start command
- Application settings
For example, your production commands may be:
Build command:
npm run buildStart command:
npm startAlways follow the settings available in your Hostinger dashboard because deployment options can change as the platform is updated.
Step 7: Select the Node.js Version
Your Next.js application needs a compatible Node.js version.
Before selecting the version, check your project’s requirements and the Node.js version recommended by the Next.js version you’re using.
Using an incompatible runtime can cause problems such as:
- Build failures
- Dependency errors
- Unexpected runtime behavior
- Application crashes
Therefore, don’t simply select a Node.js version randomly.
Check your project’s package requirements and choose an available compatible version in Hostinger.
Step 8: Configure Environment Variables
Environment variables are extremely important when deploying a Next.js application.
Your local project might contain values such as:
DATABASE_URL=
API_KEY=
AUTH_SECRET=
NEXT_PUBLIC_API_URL=
These values should be configured securely within your hosting environment.
For example:
DATABASE_URL=your-production-database
AUTH_SECRET=your-secure-secret
NEXT_PUBLIC_API_URL=https://example.com/api
Be especially careful with variables beginning with NEXT_PUBLIC_.
These variables are intended to be accessible by client-side code, so you should never put private credentials inside them.
Keep database passwords, private API keys, authentication secrets, and other confidential information server-side.
Step 9: Deploy Your Next.js Application
Once your repository, Node.js version, build command, start command, and environment variables are configured, start the deployment.
The hosting platform will generally:
- Retrieve your project.
- Install dependencies.
- Run the build command.
- Create the production application.
- Start the Node.js application.
- Make the application available through the hosting environment.
If everything is configured correctly, your application should become accessible through the provided application URL.
Step 10: Connect Your Domain
After confirming that your application works, connect your custom domain.
For example:
yourwebsite.comis much more professional than a temporary hosting URL.
The general process involves:
- Add the domain to your Hostinger account.
- Configure the necessary DNS records.
- Point the domain toward the hosting environment.
- Associate the domain with your Next.js application.
- Enable HTTPS.
- Test the domain.
Once DNS changes have propagated, open your domain in a browser and verify that your Next.js application loads correctly.
Step 11: Test the Live Application
Never assume that a successful deployment automatically means everything is working perfectly.
Perform a complete production test.
Check:
Frontend
- Homepage loads correctly
- Navigation works
- CSS is loading
- Images display correctly
- Fonts load correctly
- Responsive design works
Backend
- API routes work
- Forms submit successfully
- Database connections work
- Authentication works
- Server-side functionality works
SEO
If your website depends on Google traffic, also check:
- Page titles
- Meta descriptions
- Canonical URLs
- Robots.txt
- XML sitemap
- Structured data
- Open Graph tags
- Indexability
This is particularly important for businesses and freelancers because a technically successful deployment doesn’t automatically guarantee good SEO performance.
Common Next.js Deployment Problems
Even when the deployment process is straightforward, developers can encounter problems.
Build Command Fails
Check your dependencies, Node.js version, TypeScript errors, and environment variables.
Application Starts but Shows an Error
Check the application logs and verify your production environment variables.
Database Doesn’t Connect
Make sure the production database URL is correctly configured and that your database allows the hosting environment to connect.
Images Don’t Load
Review your Next.js image configuration and make sure remote image domains are configured correctly where required.
Environment Variables Don’t Work
Make sure variables are configured in the production hosting environment and that you’re using the correct variable names.
Why Hostinger Is Useful for Students
Students can use this deployment process to turn coursework and personal projects into real online applications.
Instead of showing an instructor or potential employer a project running only on:
localhost:3000you can provide a live URL.
Possible projects include:
- Student portals
- Portfolio websites
- Blogging platforms
- E-commerce prototypes
- Expense trackers
- Job boards
- SaaS applications
- AI-powered tools
- REST APIs
A live Next.js project can also strengthen a developer portfolio because it demonstrates practical deployment knowledge.
Benefits for Freelancers
For freelancers, the ability to deploy Next.js applications efficiently can make client projects easier to manage.
You can build a website locally, store it in GitHub, deploy it through a compatible Hostinger environment, connect the client’s domain, and maintain the project through future updates.
This workflow can be useful for:
- Business websites
- Marketing websites
- Client dashboards
- Booking systems
- Lead-generation applications
- Custom web tools
- SaaS prototypes
It also gives freelancers a repeatable deployment process instead of manually configuring every server from scratch.
Should You Use Hostinger for Your Next.js App?
Hostinger can be a practical option if you want a relatively straightforward environment for deploying a Node.js and Next.js application.
It can be especially suitable for:
- Beginners
- Students
- Freelancers
- Small businesses
- Portfolio projects
- Small-to-medium web applications
- Developers who prefer managed hosting
For very large applications with unusual infrastructure requirements, extremely high traffic, advanced container orchestration, or specialized DevOps requirements, you may eventually need a more customized infrastructure solution.
The right choice depends on your application’s traffic, architecture, resource requirements, database, and scalability needs.
Final Checklist Before Going Live
Before announcing your Next.js website, use this checklist:
-
Production build completed successfully
-
Compatible Node.js version selected
-
GitHub repository configured
-
Build command configured
-
Start command configured
-
Environment variables added
-
Database connection tested
-
Domain connected
-
HTTPS enabled
-
API routes tested
-
Forms tested
-
Mobile version tested
-
SEO settings checked
-
Sitemap verified
-
Website tested on multiple browsers
Once these items are complete, your Next.js application should be ready for real users.
Conclusion
Deploying a Next.js app on Hostinger doesn’t have to be complicated. The overall process is straightforward: prepare your application, create a production build, upload it through GitHub or the available deployment method, configure Node.js and environment variables, deploy the application, and connect your domain.
For students, it provides an excellent way to publish development projects online. For freelancers, it can simplify client deployments, while developers can use the same workflow to move applications from local development to production.
The most important part is to verify your Node.js version, build configuration, environment variables, database settings, and domain configuration before launching the application publicly.
🚀 EXCLUSIVE 75% DISCOUNT ON HOSTINGER
Ready to deploy your Next.js application?
Get started with Hostinger and move your project from localhost to a live production website with a straightforward Node.js hosting workflow.
🔥 EXCLUSIVE 75% DISCOUNT
Get your Hostinger hosting today and start deploying your Next.js application.
👉 GET 75% OFF HOSTINGER
Whether you’re building a Next.js portfolio, SaaS application, business website, student project, API, or freelance client website, you can use Hostinger as a practical hosting option and scale your resources as your application grows.
Build your app → Deploy it → Connect your domain → Go live.