
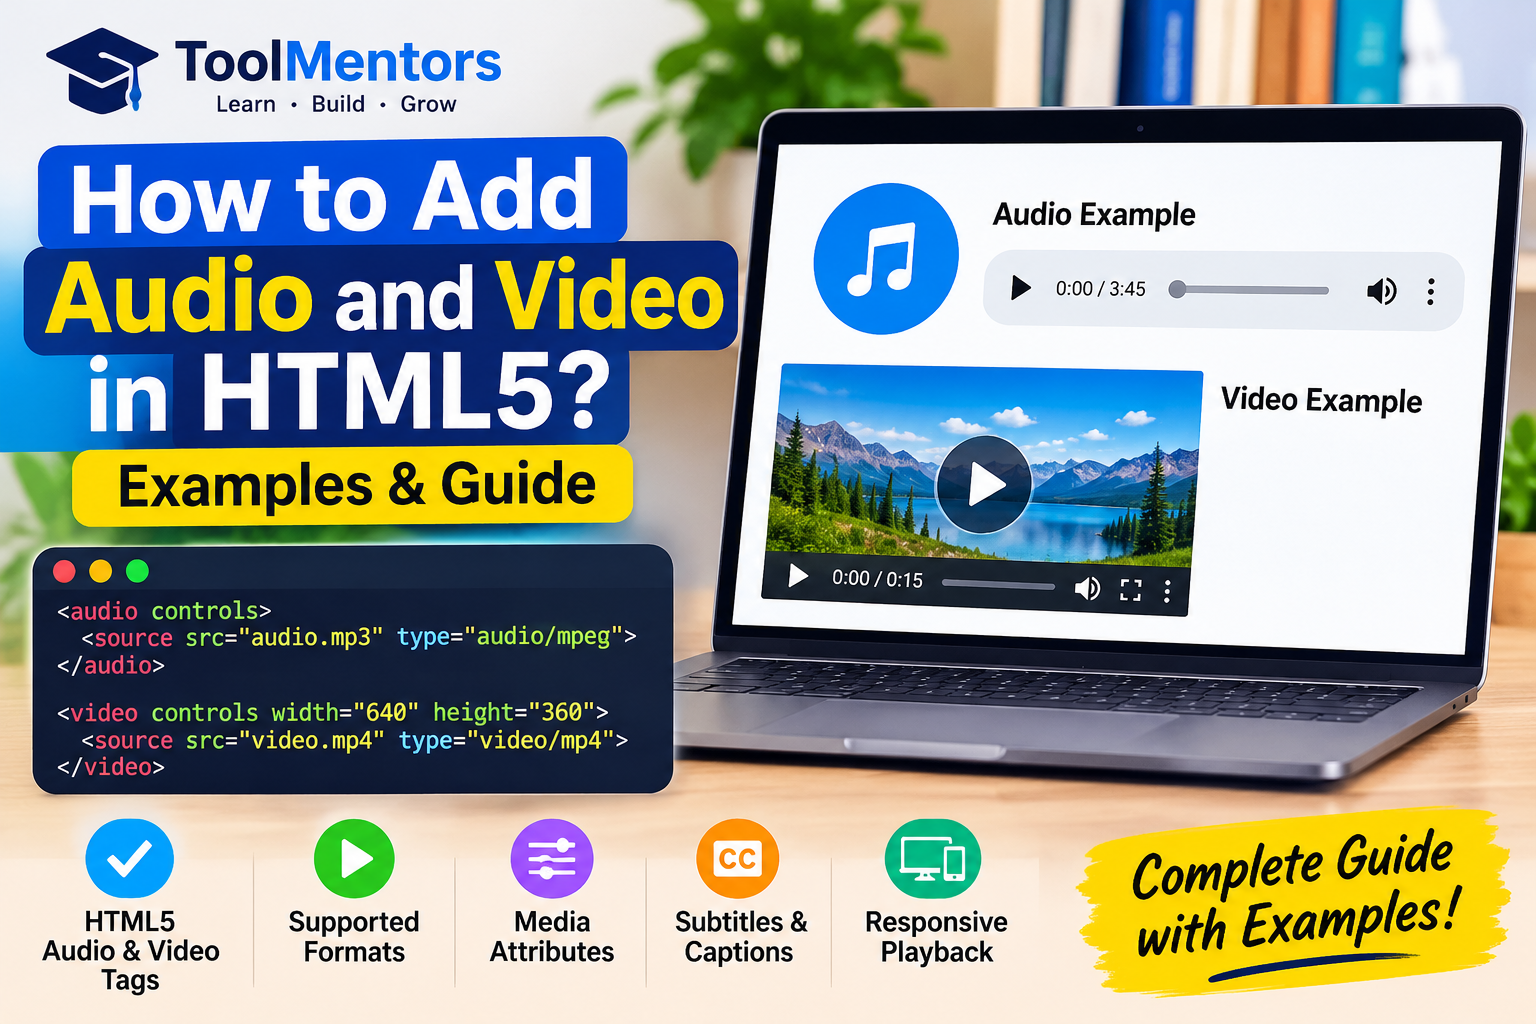
HTML5 allows you to add audio and video to webpages using the built-in <audio> and <video> elements without requiring external plugins. By using attributes such as controls, autoplay, loop, muted, and src, you can easily embed media files and provide an interactive experience for website visitors.

What Are HTML5 Audio and Video Elements?
HTML5 introduced native audio and video elements that allow developers to embed multimedia content directly into webpages. Before HTML5, developers often relied on third-party plugins such as Adobe Flash to play audio and video files.
Today, modern browsers support HTML5 media elements, making it easier to add music, podcasts, tutorials, promotional videos, and other multimedia content.
The two main HTML5 media elements are:
<audio>: Used to embed sound files, music, podcasts, and other audio content.<video>: Used to embed video files, tutorials, presentations, and other visual media.
Both elements support multiple attributes that allow developers to control playback, display media controls, and customize the user experience.
How Do You Add Audio in HTML5?
You can add audio to an HTML5 webpage using the <audio> element. This element allows browsers to play supported audio files directly without requiring additional plugins.
The basic syntax is:
<audio controls>
    <source src="music.mp3" type="audio/mpeg">
    Your browser does not support the audio element.
</audio>
Understanding the HTML5 Audio Code
Let’s understand how this example works:
<audio>: Defines the audio element.controls: Displays built-in audio playback controls.<source>: Specifies the location and format of the audio file.src="music.mp3": Defines the audio file path.type="audio/mpeg": Identifies the audio file format.- Fallback text: Displays if the browser does not support the audio element.
When a visitor opens the webpage, the browser displays an audio player with controls for playing, pausing, and adjusting the volume.
Example: Adding Audio with Multiple Sources
You can provide multiple audio sources to improve browser compatibility.
<audio controls>
    <source src="music.mp3" type="audio/mpeg">
    <source src="music.ogg" type="audio/ogg">
    Your browser does not support HTML5 audio.
</audio>
The browser checks the available formats and selects a supported source.
This approach is useful when you want your audio content to work across different browsers and devices.
How Do You Add Video in HTML5?
To add video content to a webpage, use the HTML5 <video> element. It allows developers to embed videos directly into HTML documents and display built-in playback controls.
The basic syntax is:
<video width="640" height="360" controls>
    <source src="video.mp4" type="video/mp4">
    Your browser does not support the video element.
</video>
Understanding the HTML5 Video Code
Here is what each part does:
<video>: Defines the video player.width: Sets the video player’s width.height: Sets the video player’s height.controls: Displays playback controls.<source>: Specifies the video file.src="video.mp4": Defines the location of the video.type="video/mp4": Specifies the video format.- Fallback text: Provides a message if the browser does not support the video element.
When the webpage loads, visitors can play, pause, adjust the volume, and control the video using the browser’s built-in media player.
Example: Adding Multiple Video Sources
Providing different video formats can help improve compatibility.
<video width="640" height="360" controls>
    <source src="video.mp4" type="video/mp4">
    <source src="video.webm" type="video/webm">
    Your browser does not support HTML5 video.
</video>
The browser checks the available sources and attempts to play a supported format.
What Are the Important HTML5 Audio and Video Attributes?
HTML5 provides several attributes that help developers customize how audio and video players behave.
Here are some commonly used attributes.
1. The Controls Attribute
The controls attribute displays the browser’s built-in media player controls.
<audio controls>
    <source src="music.mp3" type="audio/mpeg">
</audio>
For video:
<video controls width="500">
    <source src="video.mp4" type="video/mp4">
</video>
Users can play, pause, adjust volume, and control playback.
2. The Autoplay Attribute
The autoplay attribute tells the browser to start playing media automatically when possible.
<video controls autoplay muted>
    <source src="video.mp4" type="video/mp4">
</video>
Many browsers restrict autoplay with sound. Using muted can make autoplay more likely to work.
3. The Loop Attribute
The loop attribute makes audio or video repeat automatically after playback finishes.
<audio controls loop>
    <source src="music.mp3" type="audio/mpeg">
</audio>
This is useful for background music and repeating audio content, although autoplay and user preferences should be considered.
4. The Muted Attribute
The muted attribute sets the initial audio output to muted.
<video controls muted>
    <source src="video.mp4" type="video/mp4">
</video>
It is particularly useful for muted autoplay videos.
5. The Poster Attribute
The poster attribute specifies an image that appears before a video starts playing.
<video width="600" controls poster="thumbnail.jpg">
    <source src="video.mp4" type="video/mp4">
</video>
This helps visitors understand what the video contains before pressing play.
6. The Preload Attribute
The preload attribute provides a hint to the browser about how much media data should be loaded before playback.
It supports three common values:
none: Suggests that the browser should not preload media data.metadata: Suggests loading basic media information.auto: Allows the browser to decide whether to preload more media data.
Example:
<video controls preload="metadata">
    <source src="video.mp4" type="video/mp4">
</video>
Using preload="metadata" can help reduce unnecessary data loading.
Which Audio and Video Formats Does HTML5 Support?
HTML5 supports several media formats, but browser compatibility depends on the browser, operating system, and available codecs.
Common Audio Formats
| Audio Format | MIME Type | Description |
|---|---|---|
| MP3 | audio/mpeg | Widely supported compressed audio |
| WAV | audio/wav | Common uncompressed audio format |
| OGG | audio/ogg | Open multimedia audio format |
| AAC | audio/aac | Compressed audio format |
Common Video Formats
| Video Format | MIME Type | Description |
|---|---|---|
| MP4 | video/mp4 | Widely supported video container |
| WebM | video/webm | Open web media format |
| Ogg | video/ogg | Open multimedia container |
For most websites, MP3 is a practical choice for audio and MP4 with H.264 video encoding is a widely compatible choice for video. Always test your media files in the browsers you intend to support.
How Do You Add Subtitles and Captions to HTML5 Videos?
HTML5 provides the <track> element to add subtitles, captions, and other timed text information to videos.
This is useful for improving accessibility and helping visitors understand video content.
Example:
<video width="640" controls>
    <source src="video.mp4" type="video/mp4">

    <track
        src="subtitles-en.vtt"
        kind="subtitles"
        srclang="en"
        label="English"
        default>
</video>
Understanding the attributes:
src: Specifies the WebVTT subtitle file.kind: Defines the type of track.srclang: Specifies the language.label: Provides a readable name for the subtitle track.default: Identifies the default track.
Subtitle files generally use the .vtt extension and contain timed text that synchronizes with the video.
How to Make HTML5 Audio and Video Responsive
Responsive media ensures that audio and video elements work properly across desktops, tablets, and smartphones.
For responsive video, you can use CSS to prevent the player from exceeding its container width.
<style>
video {
    max-width: 100%;
    height: auto;
}
</style>

<video controls>
    <source src="video.mp4" type="video/mp4">
</video>
The max-width: 100% property allows the video to adjust to the available container width.
For audio, the following CSS can help the player fit smaller screens:
audio {
    max-width: 100%;
}
These techniques help create a better viewing experience across different screen sizes.
Step-by-Step: Create a Complete HTML5 Audio and Video Webpage
Now let’s combine everything into one practical HTML5 example.
Step 1: Create an HTML File
Create a new file named media.html using a code editor such as Visual Studio Code.
Step 2: Add the HTML Structure
Start with the standard HTML document structure.
Step 3: Insert the Audio Element
Add an audio player with controls and an MP3 source.
Step 4: Insert the Video Element
Add a video player with dimensions, controls, and a poster image.
Step 5: Add Responsive CSS
Use CSS to make the video adjust to different screen sizes.
Here is the complete code:
<!DOCTYPE html>
<html lang="en">
<head>
    <meta charset="UTF-8">
    <meta name="viewport" content="width=device-width, initial-scale=1.0">

    <title>HTML5 Audio and Video Example</title>

    <style>
        body {
            font-family: Arial, sans-serif;
            margin: 30px;
        }

        video {
            max-width: 100%;
            height: auto;
        }

        audio {
            max-width: 100%;
        }
    </style>
</head>
<body>

    <h1>HTML5 Audio and Video Tutorial</h1>

    <h2>Listen to Audio</h2>

    <audio controls>
        <source src="music.mp3" type="audio/mpeg">
        Your browser does not support HTML5 audio.
    </audio>

    <h2>Watch Video</h2>

    <video width="640" height="360"
           controls poster="thumbnail.jpg">
        <source src="video.mp4" type="video/mp4">
        Your browser does not support HTML5 video.
    </video>

</body>
</html>
Save the file and open it in your browser. Make sure music.mp3, video.mp4, and thumbnail.jpg are available in the correct folder.
You should now see an audio player and a video player on your webpage.
What Are the Benefits of Using HTML5 Audio and Video?
HTML5 media elements provide several advantages for modern website development.
- No External Plugins: Audio and video can play directly through supported browsers without requiring Flash or similar plugins.
- Easy Implementation: Developers can embed media using simple HTML elements.
- Better Accessibility: Captions and subtitles can help users understand video content.
- Mobile Compatibility: Native media playback works across many modern smartphones, tablets, and desktop devices.
- Customizable Playback: Attributes allow developers to control playback settings and media behavior.
- Improved User Experience: Websites can provide tutorials, podcasts, demonstrations, and educational content directly on their pages.
Benefits for Students, Developers, and Freelancers
For Students: Learning HTML5 audio and video helps students understand multimedia integration and develop practical web development skills.
For Developers: Native media elements make it easier to build websites containing tutorials, product demonstrations, educational resources, and interactive multimedia content.
For Freelancers: Freelancers can use HTML5 media elements to create client websites, online portfolios, promotional pages, and multimedia landing pages without relying on unnecessary third-party plugins.
Common HTML5 Audio and Video Problems and Their Solutions
Sometimes audio and video files may not play as expected. Here are common problems and their possible solutions.
- Incorrect File Path: Check that the media file exists in the correct directory and that the
srcpath is accurate. - Unsupported Format: Use a browser-compatible media format and codec.
- Missing Controls: Add the
controlsattribute if visitors need playback buttons. - Autoplay Not Working: Modern browsers often block autoplay with sound. Try using the
mutedattribute where appropriate. - Incorrect MIME Type: Make sure your web server sends the correct media content type.
- Large Media Files: Compress audio and video files to improve loading performance.
- Missing Subtitles: Check that your WebVTT file path and
<track>attributes are correct.
Testing your media in different browsers and devices can help identify compatibility issues.
Frequently Asked Questions About HTML5 Audio and Video
1. How do you add audio to an HTML5 webpage?
You can add audio using the <audio> element and specify the audio file through the src attribute or a nested <source> element. Add controls to display playback options.
2. How do you embed a video in HTML5?
Use the <video> element with a <source> element containing the video file path and MIME type. The controls attribute allows visitors to play, pause, and adjust the video.
3. What is the difference between the HTML audio and video tags?
The <audio> element embeds sound content such as music and podcasts, while the <video> element embeds visual media such as tutorials, presentations, and recorded videos.
4. Which audio and video formats are supported by HTML5?
Common audio formats include MP3, WAV, and OGG. Common video formats include MP4, WebM, and Ogg. Actual support depends on browser and codec compatibility.
5. What is the purpose of the controls attribute in HTML5?
The controls attribute displays built-in media controls that allow users to play, pause, adjust volume, and manage media playback.
6. How do you autoplay audio and video in HTML5?
You can use the autoplay attribute inside the <audio> or <video> element. However, browsers often restrict autoplay with sound, so muted video autoplay is generally more reliable.
7. What is the difference between autoplay, loop, and muted attributes?
autoplay requests automatic playback, loop repeats the media after it finishes, and muted sets the initial audio output to silent.
8. How do you add multiple audio and video sources in HTML5?
Add multiple <source> elements inside the <audio> or <video> element. Each source should specify a different media file and its corresponding MIME type.
9. How can you add subtitles and captions to HTML5 videos?
Use the <track> element inside the <video> element and provide a WebVTT file through the src attribute. You can also specify its language and track type.
10. Why is my HTML5 audio or video not playing in the browser?
Common reasons include incorrect file paths, unsupported codecs, missing media files, server MIME type problems, and browser autoplay restrictions. Check the file location and format first.
Conclusion
Adding audio and video in HTML5 is a straightforward process using the built-in <audio> and <video> elements. These elements allow developers to embed multimedia content, provide playback controls, add subtitles, and customize media behavior using simple HTML attributes.
Whether you are a student learning web development, a developer building modern websites, or a freelancer creating client projects, understanding HTML5 media elements is an important skill.
Continue learning with ToolMentors and explore our Blog for more practical web development tutorials. You can also visit our HTML5 Complete Guide for Beginners to learn more HTML concepts step by step.
If our tutorials help you improve your skills, consider Buying Us a Cup of Coffee to support ToolMentors and help us create more free educational resources.