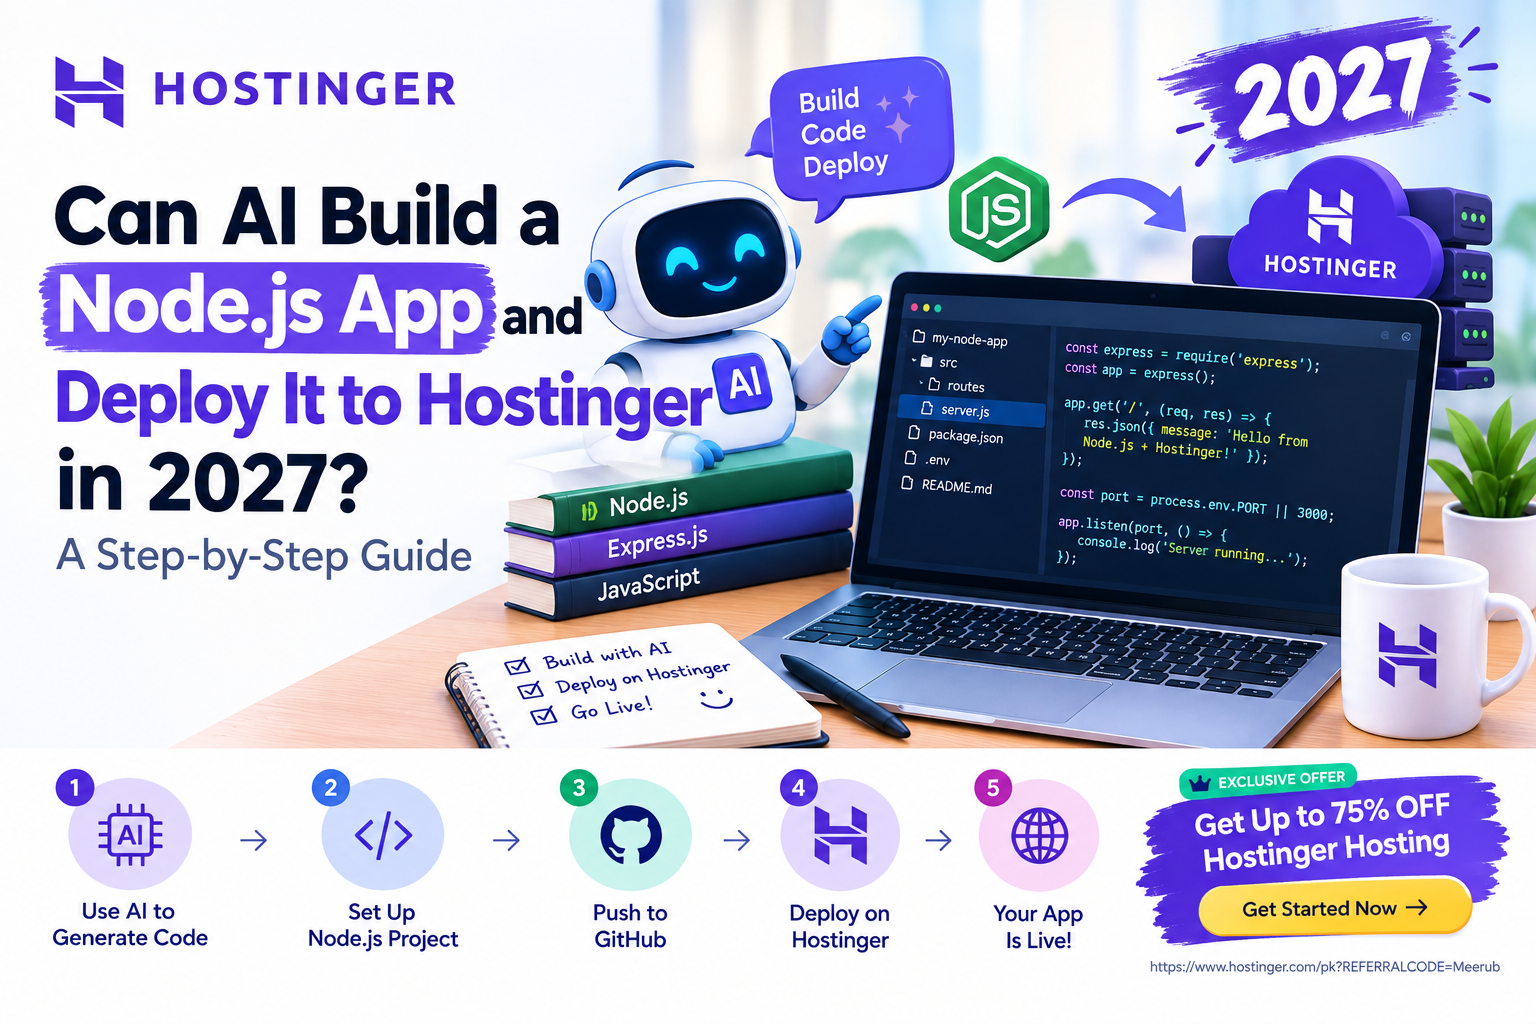
Yes, AI can help you build a Node.js application and deploy it to Hostinger in 2027 by generating code, configuring project files, and assisting with deployment. However, you must review the generated code, configure hosting and environment variables, test the application, and verify that your Hostinger plan supports your project’s requirements.
Can AI Build a Node.js App and Deploy It to Hostinger in 2027?
Yes, AI tools can help you build and deploy a Node.js application, even if you have limited programming experience. From generating backend code to troubleshooting errors and preparing deployment instructions, AI can simplify many stages of web development.
For example, you can use AI to create an Express.js API, build a contact form backend, develop a task management application, or create a simple business dashboard. Once the application is ready, you can deploy it to a compatible Hostinger hosting plan and make it accessible online.
However, AI does not automatically guarantee that your application will be secure, reliable, or production-ready. You still need to understand the basic development process, review the code, configure the hosting environment, and test the application before launching it.
This guide explains how to use AI to build a Node.js application and deploy it to Hostinger, step by step.
What Do You Need to Build a Node.js App With AI?
Before starting, prepare the tools and services required for development and deployment.
1. An AI Coding Assistant
An AI coding assistant can generate code, explain programming concepts, suggest improvements, and help troubleshoot errors.
You can use tools such as:
-
ChatGPT for planning, code generation, explanations, and debugging.
-
GitHub Copilot for AI-assisted coding inside supported development environments.
-
Cursor for working with AI assistance across project files.
AI-generated code should always be reviewed and tested before deployment.
2. Node.js and a Code Editor
Install Node.js and a code editor on your computer if you plan to develop locally.
Node.js allows you to run JavaScript outside a web browser, while a code editor helps you organize and modify your project files.
You may also need npm, which is commonly used to install and manage Node.js packages.
3. A Hostinger Hosting Plan
You need a hosting environment that supports your application’s Node.js version, framework, dependencies, and deployment requirements.
Hostinger offers managed web application hosting and VPS hosting options. The exact features and deployment methods depend on the plan you select.
4. A GitHub Account
GitHub is useful for storing your source code and tracking changes.
Connecting your project to a repository can also make deployment and future updates easier when your hosting plan supports a compatible Git-based workflow.
Step-by-Step: Build a Node.js App Using AI
Let’s create a simple task management API using Node.js and Express.js. This example demonstrates how AI can assist with creating a working backend before you deploy it.
Step 1: Define Your Application Requirements
Before asking AI to generate code, describe what your application should do.
For example, you could build a task management application with these features:
-
Create a task.
-
View all tasks.
-
Update a task.
-
Delete a task.
-
Return task information through API endpoints.
Clear requirements help AI generate more relevant code and reduce unnecessary changes.
Example AI Prompt
You can use a prompt like this:
Build a simple task management REST API using Node.js and Express.js.
Requirements:
-
Create, read, update, and delete tasks.
-
Use a clean project structure.
-
Include a package.json file and a production start script.
-
Read the server port from process.env.PORT.
-
Validate incoming request data.
-
Return appropriate HTTP status codes.
-
Explain how to run and test the application locally.
Keep the code beginner-friendly and explain each file.
AI can use these instructions to generate a starting point for your application.
Step 2: Generate the Node.js Project Files
Ask AI to organize your application into separate files instead of putting everything into one large script.
A simple project structure could look like this:
task-manager/
├── package.json
├── server.js
├── routes/
│   └── tasks.js
└── README.md
The files have different purposes:
-
package.jsondefines dependencies and application scripts. -
server.jsinitializes the Express application. -
routes/tasks.jscontains task-related API endpoints. -
README.mdexplains how to install, run, and test the project.
For a learning project, AI can help you understand each file and explain how the components work together.
For a production application, you may also need authentication, database integration, input validation, logging, and automated tests.
Step 3: Install Dependencies and Run the App
Once AI generates your files, open the project in your code editor and install its dependencies.
For an Express.js project, the basic commands are:
npm install
npm start
If your project does not yet contain a start script, ask AI to add one to package.json.
For example:
{
  "scripts": {
    "start": "node server.js"
  }
}
After starting the application, test its API endpoints using a browser, an API testing tool, or suitable automated tests.
Check that the application starts successfully, returns the expected responses, and handles invalid requests correctly.
Important: AI-generated code may contain bugs, outdated package choices, or insecure patterns. Review the dependencies and test the application before uploading it to a public hosting environment.
Step 4: Connect a Database if Your App Needs One
A task management application that stores information permanently needs a database.
For a simple demonstration, you might begin with temporary in-memory data. However, this is not appropriate for persistent production data because application restarts can erase it.
For a real application, consider a database such as MySQL or PostgreSQL, depending on your requirements and hosting compatibility.
Ask AI to help you:
-
Design the database tables or schema.
-
Configure the database connection.
-
Store credentials in environment variables.
-
Create and test database operations.
-
Handle database connection failures.
Never share real database passwords or private API keys in public prompts or source-code repositories.
Step 5: Review and Test the AI-Generated Code
Before deployment, ask AI to review the application for potential issues.
For example:
Review my Node.js and Express.js application for production readiness.
Check for security vulnerabilities, input validation problems, error-handling issues, exposed secrets, dependency risks, and performance bottlenecks.
Explain each issue and suggest specific fixes. Do not claim that the application is secure unless the relevant checks have actually been performed.
AI review can help identify issues, but it is not a substitute for proper testing, dependency auditing, and security review.
Step 6: Upload Your Project to GitHub
Once the application works locally, store the code in a GitHub repository.
A typical workflow is:
-
Create a new repository.
-
Add your project files.
-
Exclude sensitive files such as
.env. -
Commit and push your changes.
-
Confirm that the repository contains the files needed for deployment.
Keeping your code in GitHub makes it easier to track changes, fix bugs, and redeploy updated versions.
Do not upload production credentials, private keys, or database passwords to a public repository.
Step 7: Deploy Your Node.js App to Hostinger
After preparing your project, choose a Hostinger plan that supports your application’s requirements.

Option A: Deploy Using Managed Hosting
If your selected plan supports Git-based deployment, the general workflow is:
-
Open your hosting dashboard.
-
Create or configure your Node.js application.
-
Connect your GitHub repository or use the supported upload method.
-
Select the required Node.js version.
-
Configure the build and start commands.
-
Add the required environment variables.
-
Deploy the application and review its logs.
The exact dashboard steps depend on the hosting product and its current interface.
Option B: Deploy Using a VPS
If you choose VPS hosting, you have greater control over the server environment.
However, you may need to configure Node.js, install dependencies, set up a process manager, configure a reverse proxy, and manage firewall rules.
A VPS is useful when your application requires custom server configuration, but it also requires more technical knowledge and ongoing maintenance.
Step 8: Connect Your Domain and Test the Live Application
Once the application is deployed, connect your domain using the configuration supported by your hosting plan.
Then test the live application carefully.
-
Open the application URL.
-
Check that HTTPS works.
-
Test each API endpoint.
-
Confirm database operations work correctly.
-
Review logs for errors.
-
Test invalid requests and authentication if applicable.
-
Confirm that the application behaves correctly after a restart or redeployment.
If something fails, collect the exact error message and ask AI to help investigate it. Avoid sharing private credentials or sensitive customer information when troubleshooting.
What Are the Benefits of Using AI for Node.js Development?
AI can make the development process more accessible, particularly for people who are learning programming or building their first projects.
For Students
Students can use AI to understand Node.js concepts, generate practice projects, learn how APIs work, and gain experience deploying applications online.
For Freelancers
Freelancers can use AI to create project prototypes, automate repetitive coding tasks, and develop demonstrations for potential clients.
AI can help accelerate development, but freelancers should still review code quality, test functionality, and account for maintenance requirements.
For Developers
Experienced developers can use AI to generate boilerplate code, write test cases, explain unfamiliar errors, and explore implementation options.
The greatest benefit is often reducing repetitive work while allowing developers to focus on architecture, testing, and application quality.
Common Mistakes to Avoid When Deploying AI-Built Apps
-
Skipping testing: Code that works locally may fail in a production environment.
-
Exposing credentials: Never store sensitive secrets in public repositories.
-
Ignoring hosting compatibility: Verify the supported Node.js version and deployment requirements.
-
Using temporary storage for important data: Use a suitable persistent database.
-
Assuming AI guarantees security: Independently review and test security-sensitive code.
-
Ignoring backups and monitoring: Establish a recovery process and monitor the live application.
Frequently Asked Questions
Can AI build a complete Node.js application?
AI can generate substantial parts of a Node.js application, including backend routes, configuration files, and tests. A human should still review, test, and maintain the application.
Can I deploy an AI-generated Node.js app to Hostinger?
Yes, if your selected Hostinger hosting plan supports the application’s runtime, dependencies, and deployment method. Confirm compatibility before purchasing.
Do I need coding experience to use AI for Node.js?
You can start with limited coding experience, but learning JavaScript, HTTP, APIs, environment variables, and basic security will help you troubleshoot and maintain your application.
Can AI fix Node.js deployment errors?
AI can help interpret error messages and suggest solutions. Provide the relevant logs and configuration details, excluding passwords and other secrets, and verify any suggested changes.
Is AI-generated Node.js code production-ready?
Not automatically. Production readiness requires testing, security review, proper configuration, monitoring, and maintenance.
Get Started With Hostinger Node.js Hosting
Ready to turn your AI-generated Node.js project into a live website or application? Choose a hosting plan that matches your project requirements and follow the deployment steps above.
Get Up to 75% OFF Hostinger Hosting
Build your Node.js application with AI and deploy it using Hostinger’s available hosting options.
-
Explore managed Node.js hosting and VPS plans.
-
Compare hosting features and resources.
-
Check the latest eligible discounts and renewal pricing.
Discount availability, eligibility, and final pricing are subject to Hostinger’s current offer and checkout terms.
Final Thoughts
AI can help you build a Node.js application, troubleshoot development issues, and prepare your project for deployment. Hostinger can provide the hosting environment needed to publish your application online, provided your chosen plan supports its technical requirements.
Start with a small project, test it locally, deploy it to a compatible hosting plan, and improve it based on real usage. This approach can help students, freelancers, and developers turn AI-assisted coding into practical web development experience.